
Texture for 3D Model: A Complete PBR Workflow Guide
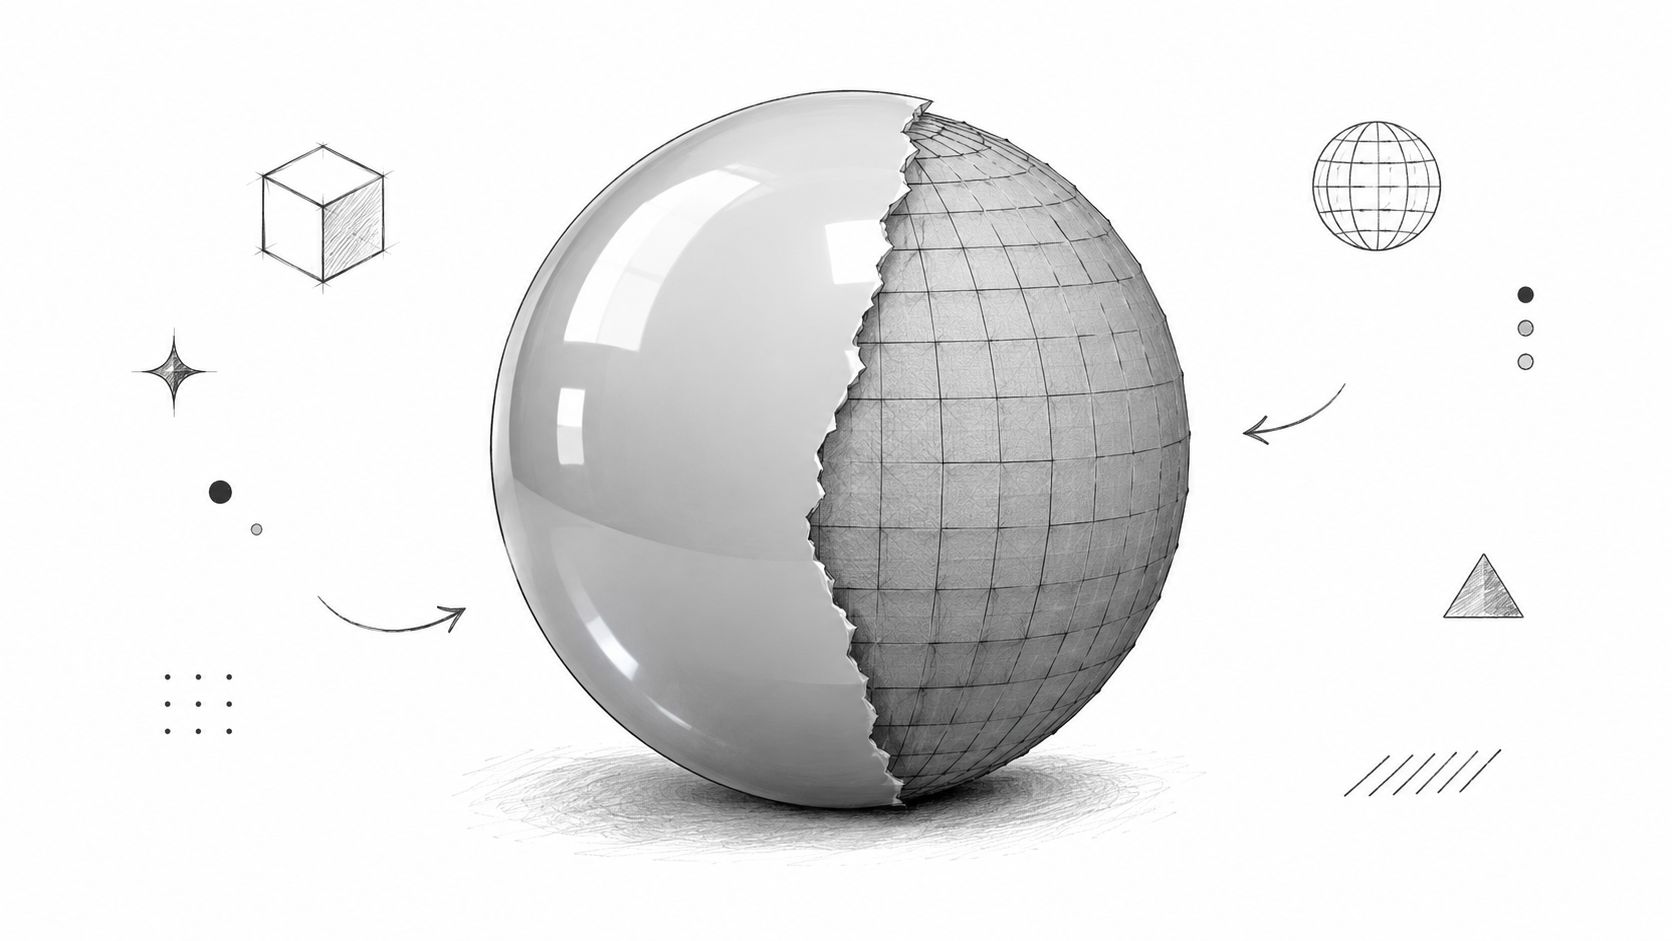
You're looking at a mesh that already looks “done,” but the second you import it into Blender, a game engine, or a slicer, the illusion breaks. The color sits right in one lighting setup, then shifts, seams appear, highlights slide across the surface, and suddenly the asset feels unfinished.
That gap is the whole job of texture for 3D model work. A texture only becomes production-ready when it survives lighting changes, UV layout, compression, and export without falling apart. That's why modern pipelines lean on PBR instead of a single painted image, because physically based materials keep surface behavior more consistent across tools and renderers, using map sets like albedo, roughness, metallic, normal, and ambient occlusion.
Table of Contents
- The Reality of Modern 3D Texturing
- Building Your Texture Workflow from Generation to UV Mapping
- Validating PBR Textures Beyond the First Render
- Exporting Textured Assets for Games, Print, and Rendering
- Choosing the Right Toolchain for Your Production Needs
- The Real Role of AI in Professional 3D Workflows
- Putting It All Together, a Production-Ready Checklist
The Reality of Modern 3D Texturing
A lot of artists still judge a texture by one hero render. I used to do that too, and it's a bad habit because a texture can look excellent from one camera angle and still fail the minute the light changes or the asset gets compressed in-engine. The problem isn't usually the paint job itself, it's the missing checks around it.
Why PBR became the baseline
Modern pipelines didn't arrive by accident. Texture mapping traces back to Edwin Catmull's 1974 doctoral work, and later milestones like reflection maps in 1976, bump mapping in 1978, mipmapping in 1983, and solid or procedural texture methods in 1984 to 1985 laid the foundation for today's pipelines. That history matters because it shows how texturing moved from simple image placement toward a system that describes how surfaces actually respond to light. Catmull-era texture milestones and early pipeline methods
Practical rule: if the material only looks right in one render, it's not finished.
PBR standardized the maps artists now expect to ship with an asset. Albedo defines the base color, roughness controls highlight spread, metallic separates conductors from dielectrics, and normal maps fake fine relief without adding geometry. UV editors became common in the 1990s, then unwrapping methods improved in the early 2000s, which is why the workflow today feels much more structured than old hand-painted surface mapping. UV workflow history and PBR material sets
A production-ready texture set isn't just pretty, it's legible to downstream tools. If your material survives relighting, the same asset can move from lookdev to gameplay to client review without needing a repaint every time the lighting rig changes.
Building Your Texture Workflow from Generation to UV Mapping
The fastest way to waste time is to generate a mesh before deciding what the mesh needs to do. A concept asset, a game-ready prop, and a print-ready figure all want different amounts of cleanup, different topology discipline, and different texture treatment. That's why the workflow has to start with the target, not the prompt.
Start with the mesh, then clean it
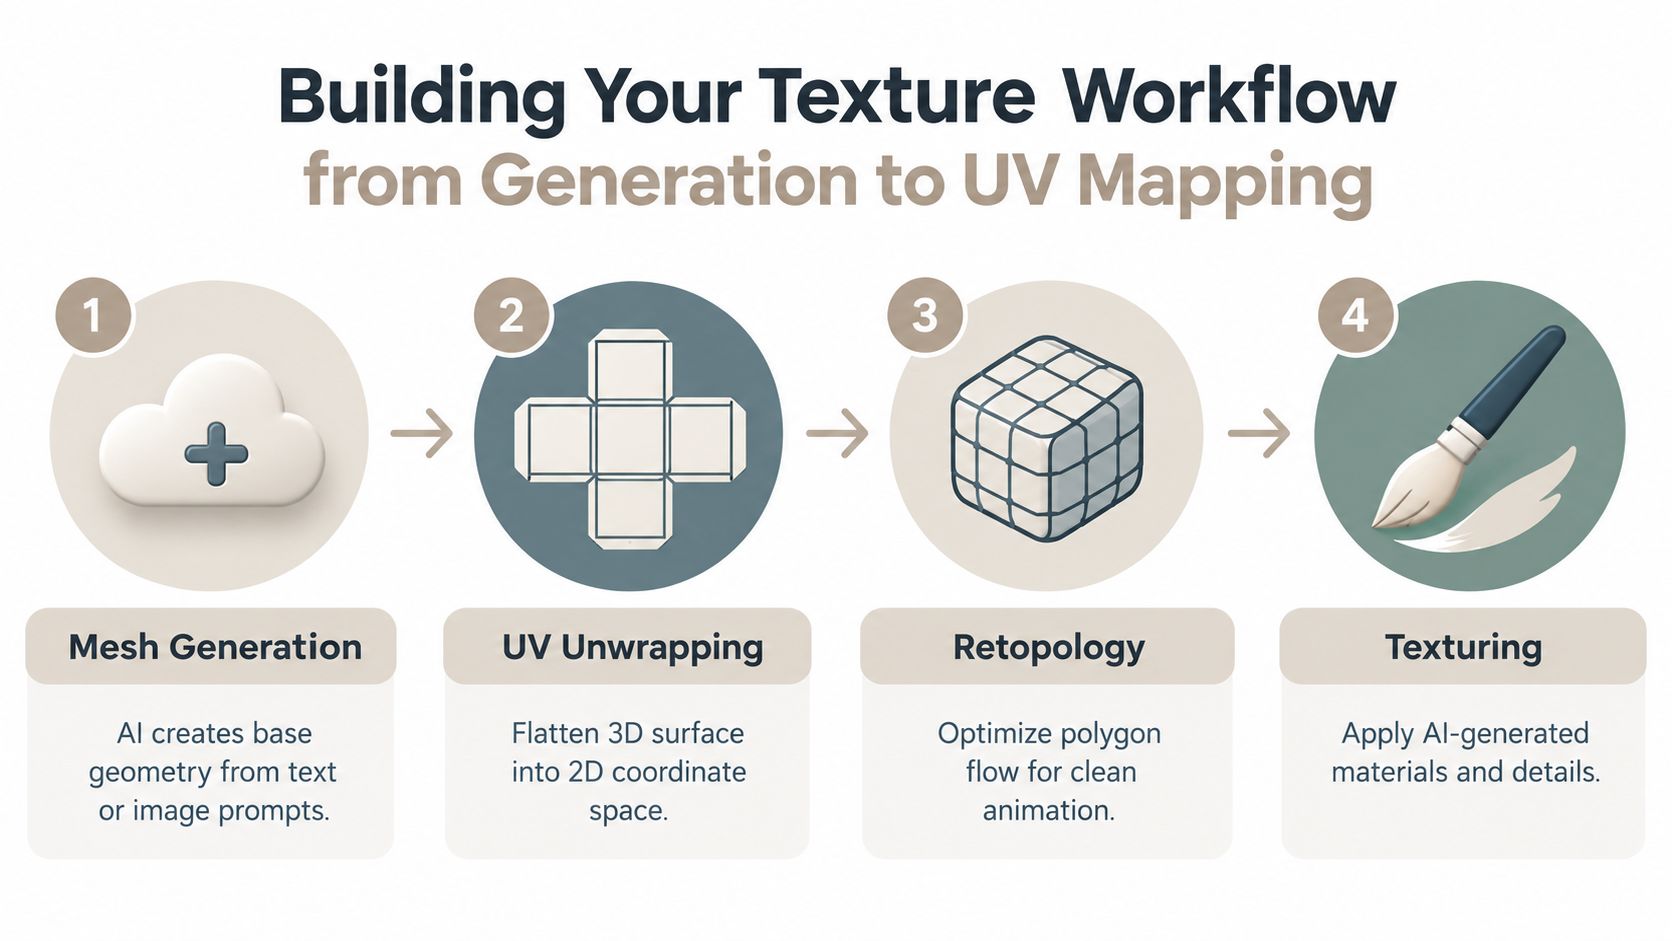
AI-assisted generation is useful when it gives you a usable starting point, not when it becomes a substitute for structure. In practice, that means generating a base mesh from text or images, checking silhouette quality, then deciding whether you need automatic remeshing or manual retopology. Games usually punish bad topology faster than static renders do, while 3D printing cares more about watertight form and physical continuity.
Sculpty fits into that stage as a single interface that aggregates text-to-3D and image-to-3D engines, plus generation, PBR texturing, remeshing and retopology, 4K rendering, and 360-degree turntable export with unified credits and file export. That matters because the cost of AI work isn't only credits, it's context switching across tools. Sculpty also keeps the output pipeline centralized, which is useful when you want the same asset to move from generation to cleanup without re-exporting through half a dozen separate apps.
After the mesh exists, UV work decides whether the texture survives. If the unwrap is messy, even strong materials will stretch or distort at the seams. If you need a refresher on normal detail setup, this normal map creation guide is a practical companion to the mesh stage.
A clean handoff path
- Generate the base mesh. Use text or image input to establish proportion and silhouette first.
- Inspect topology. Look for pinching, holes, or broken surfaces before you invest in paint.
- Remesh or retopologize. Automatic tools are fine for speed, but manual retopo still wins when animation or deformation matters.
- Unwrap UVs. Keep the islands readable and the seams where the material can hide them.
- Apply PBR maps. Build the material set only after the surface can actually hold it.
For a direct export example from Blender into a portable mesh format, the workflow notes in this Blender to OBJ guide are helpful when your asset needs to leave DCC software cleanly.
The point is simple. Generation gives you material to work with, UVs make it placeable, and retopology decides whether the asset is stable enough to survive production.
Validating PBR Textures Beyond the First Render
A single screenshot can hide a lot. Bad seams disappear under flattering light, roughness mistakes flatten out in one angle, and mismatched material response only shows up once the camera moves. That's why validation has to be treated as a stage, not an afterthought.
What to check before you export
Recent survey work argues that no single metric is enough for judging neural 3D mesh texturing, so evaluation should combine distribution-level statistics, per-instance accuracy, semantic alignment, user studies, runtime analysis, and stability checks across different inputs. In plain English, the texture has to look right, measure right, and keep working when the scene changes. Survey guidance on multi-metric evaluation and relighting checks
A texture that passes one render can still fail in a relit scene.
That's the main failure mode I see in production. Artists optimize for a flattering beauty pass, then discover that the material response shifts when the engine compresses the texture, the object rotates, or the lighting rig changes. The fix is to test the material under different lighting directions, different camera angles, and different output environments before anyone calls it done.
Recent benchmark-style results show why this matters. In one study, Hunyuan3D-Paint reported CLIP-FID 24.78, CMMD 2.191, CLIP-I 0.9207, and LPIPS 0.1211, improving over Hunyuan3D-2.0 at 26.44, 2.318, 0.8893, and 0.1261 respectively. Another method, MeshGen, is described as outperforming prior baselines across reported metrics under both original and relighted settings. Those results point to the same practical truth, relighting-aware supervision or post-processing is doing real work here. Hunyuan3D-Paint and MeshGen benchmark results
My validation checklist
- Relight the asset. Test harsh key light, soft fill light, and low-contrast lighting.
- Rotate the camera. Watch for seams, sliding highlights, and material breakup.
- Check compression behavior. Game engines can reveal issues you won't see in a source render.
- Review from distance and close-up. Some textures hold up only at one scale.
- Inspect after retopology or remesh. A clean mesh can still expose weak texture placement.
If your texture collapses in any of those tests, it's not a material problem alone. It's a pipeline problem, and the safest fix is to keep validation in the loop before export, not after a client or engineer finds the issue for you.
Exporting Textured Assets for Games, Print, and Rendering
Export is where a clean texture either becomes reusable or turns into a handoff headache. The format you choose should match the destination, because the same asset rarely needs the same packaging for a game engine, a render scene, and a slicer. A polished PBR set in Blender doesn't automatically translate if the materials or normals don't survive the trip.
Match the file to the destination
GLB and USDZ are useful when you want a compact, portable asset with materials bundled in. OBJ is still common for broad compatibility, FBX remains practical in many animation and engine pipelines, and STL is the obvious choice when the target is physical output rather than shading. If the asset is going into Unity or Unreal, I care more about material retention and normal consistency than about file elegance.
For broader context on tool selection, an AI 3D content creator can be useful as a category reference when you're comparing how different studios handle generation, texture, and presentation in one place. The key is not the label, though, it's whether the tool keeps geometry, UVs, and PBR maps intact during export.
Keep the asset compatible
Most export failures are boring and fixable. Missing materials usually come from incomplete map packing, incorrect normals often come from messy geometry, and odd shading can come from an unwrap that looked acceptable in the DCC viewport but didn't survive the final engine import. The best fix is to standardize the route from source scene to target format and reuse that path every time.
A practical export routine should include:
- Texture resolution checks. Don't ship more detail than the target actually needs.
- Material map verification. Confirm the albedo, roughness, metallic, and normal maps all made it through.
- Normals and shading review. Recalculate or clean the mesh if lighting behaves strangely.
- Target-specific test imports. Open the file in the actual downstream app, not just the source tool.
The value of a unified pipeline shows up here. If your generation, validation, and export steps all line up, you can move from Blender to an engine or slicer without rebuilding the asset by hand. That's also why keeping a consistent folder structure and naming scheme matters more than it sounds.
Choosing the Right Toolchain for Your Production Needs
Not every project needs the same amount of control. A concept artist wants speed, a technical artist wants predictable UVs, a game team wants consistent topology, and a 3D printing workflow cares about manifold surfaces more than shader nuance. The wrong toolchain can still produce a nice preview, but it won't save you from cleanup later.
Compare the priorities, not just the features
| Priority | What matters most | Where AI helps | Where manual work still matters |
|---|---|---|---|
| Fast prototyping | Quick silhouette and material exploration | Rapid generation and prompt-driven texturing | Cleanup before review |
| High-fidelity output | Surface detail, relight consistency | Multi-view and PBR-assisted generation | Final art direction and validation |
| Full UV control | Clean unwraps and deformation-friendly meshes | Faster starting geometry | Retopology and seam planning |
| Budget discipline | Fewer tool hops and predictable exports | Unified credits and bundled workflows | Choosing when to stop iterating |
Sculpty is one option when you want multiple engines behind one workflow, because it reduces friction between generation, remeshing, texturing, and export. That's useful if your team cares more about throughput than about hand-tuning every stage in separate apps. But if you need absolute control over every vertex and seam, you'll still end up in manual tools for part of the job.
Pick the tool for the asset, not the habit
If the asset has to deform, manual retopology still deserves respect. If the asset is a hero render, PBR texturing and relight checks matter more than raw polycount. If the asset is destined for print, manifold geometry and repair matter more than the prettiness of the viewport.
Decision rule: choose the toolchain that fails least often at the final destination.
The broader trend in current 3D work is clear. The field is moving toward production-ready PBR material generation, relighting, and coherent multi-view texture output, not just toward prettier prompts. That's the right direction for teams that need assets they can ship, reuse, or hand off without a long rescue pass.
The Real Role of AI in Professional 3D Workflows
AI texturing isn't replacing the artist, it's moving the work upstream into direction and downstream into validation. The hype often focuses on the moment a prompt produces a textured mesh, but in production that's only the starting point. Trust, consistency, and pipeline fit decide whether the output is useful.
Adoption is still far below the noise
Poliigon's State of 3D 2025 survey, as reported in a 2026 industry post, found that only 22% of 3,779 artists used AI daily or a few times a week, while regular use of dedicated AI 3D model generators was below 5% and 68% had never used one. Usage findings from the 2025 survey report Those numbers tell you something important, most artists are still selective, because the output has to fit into real production constraints.
That's also why recent work is focusing on controllable generation, text-guided PBR texturing, and geometry-aware diffusion. The frontier has moved away from “can it make a texture?” and toward “can it make the right texture consistently, for this pipeline, at scale?” Survey and dataset context on PBR-focused neural texturing
Where AI earns its keep
- Concept iteration. It's useful when you need fast material directions before final polish.
- Surface blocking. It can get you to a believable first pass faster than hand-painting from scratch.
- Variant generation. It helps when one mesh needs multiple material looks for review.
- Pipeline acceleration. It saves time if the export stays compatible with your downstream tools.
I still avoid AI as the final authority on material truth. It can generate a convincing image, but production needs repeatability, and that's where manual oversight still matters. Sculpty's AI texture generation workflow is relevant here because it treats texturing as part of a larger asset pipeline instead of a one-click endpoint.
Putting It All Together, a Production-Ready Checklist
A good texture workflow is boring in the best way. It starts with a useful mesh, keeps the UVs readable, validates the surface under more than one light, and exports in the format the destination wants. If any one of those steps is missing, the asset usually pays for it later.
Production-ready checklist
- Start with the target. Decide whether you're building for games, rendering, or print before you generate.
- Clean the mesh early. Retopology or remeshing comes before heavy texture investment.
- Unwrap with intention. Put seams where the material can hide them.
- Build a full PBR set. Don't stop at color, include the maps your destination expects.
- Relight before export. Check whether the texture still works when the light changes.
- Test the handoff. Import the final file into the actual downstream tool, not just the source scene.
A production asset is one that survives the next person in the chain. That might be a game artist, a render artist, a technical director, or a print specialist, but the requirement is the same, the texture has to keep behaving after it leaves your workspace.
If you're moving from manual texturing into AI-assisted production, Sculpty gives you generation, PBR texturing, remeshing, retopology, and export in one browser-based studio. Visit Sculpty if you want to test a workflow that keeps texture creation, validation, and output in the same place.