
Blender to OBJ Export: Settings, Pitfalls, and Fixes
Your Blender scene is finished, the materials look right, and the next person asks for an OBJ. You export the file, send it over, and then discover the rig is gone, the scale is wrong, or the model arrives without textures. The export button worked. The handoff didn't.
A reliable Blender to OBJ workflow starts by treating OBJ as a package of transferable data, not as a copy of the Blender scene. Geometry and UVs can move cleanly, while hierarchy, animation, and modern shader networks require separate planning. The practical difference comes from preparing the mesh, choosing export settings for the destination, packaging companion files, and testing the result outside the original Blender file.
Table of Contents
- Why Blender to OBJ Remains a Standard Handoff
- Exporting OBJ from Blender with the Right Settings
- Fixing Normals, Scale, and Axis Issues Before Export
- Packaging OBJ Files with Materials and Textures
- When OBJ Is the Wrong Choice and What to Use Instead
- Pre-Export Validation and Next Steps
Why Blender to OBJ Remains a Standard Handoff
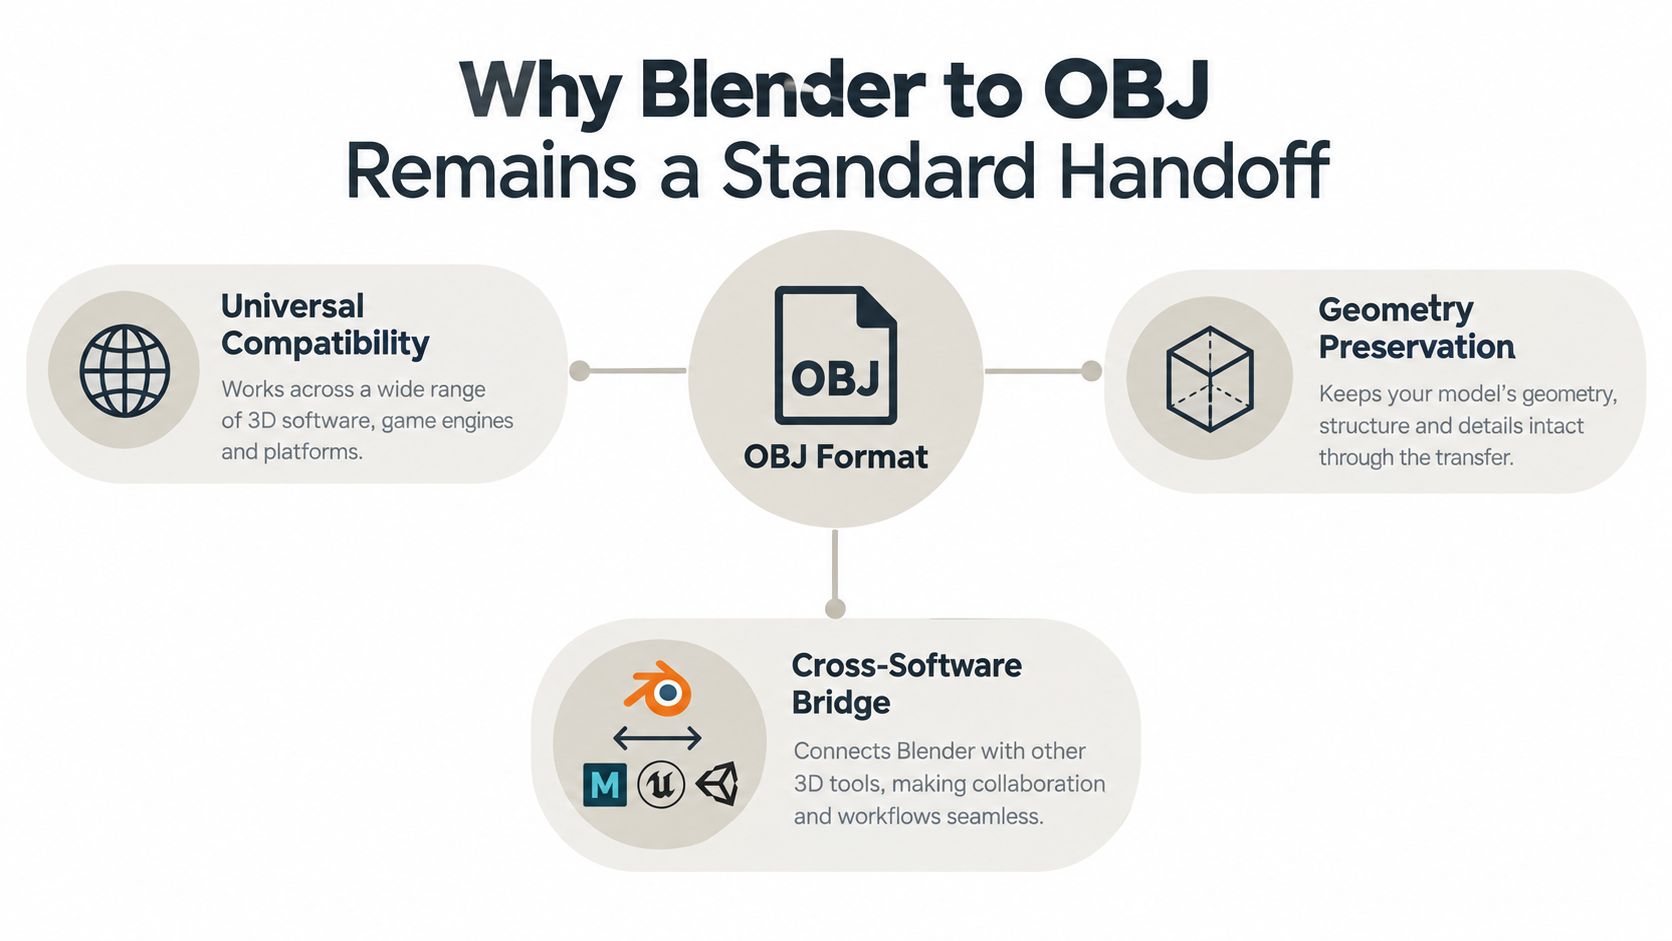
A Blender project often contains far more than the receiving application needs. A static mesh, UV layout, and basic material references may be enough for a renderer, a modeling tool, a game asset review, or a 3D printing preparation step. OBJ remains useful because it focuses on that core handoff instead of trying to represent an entire production scene.
The Blender OBJ documentation describes OBJ as a widely used de facto standard in the 3D industry. Blender supports OBJ export without requiring an add-on in the version 3.1 documentation, and current documentation continues to present it as a straightforward geometry exchange format. That broad support makes OBJ a practical bridge between Blender and tools such as Maya, 3ds Max, Rhino, SketchUp, game pipelines, and mesh-oriented utilities.
Simplicity is the reason it travels well
OBJ was created by Wavefront Technologies for its Advanced Visualizer product line during the early era of professional 3D graphics. The U.S. Library of Congress record on Wavefront documents the company's early desktop and visualization products, while the DIRSIG OBJ preservation notes describe how the format survived as a simple ASCII geometry format across major 3D applications.
That simplicity is both OBJ's strength and its boundary. The format supports basic geometry and material information, but it doesn't carry armatures, lights, cameras, empty objects, parenting, or Blender transformations. A rigged character can become an unrigged mesh. A carefully arranged scene can become a collection of geometry with no usable hierarchy.
Practical rule: Export OBJ when the receiver needs a portable mesh. Don't use it as a full-scene archive.
If you're comparing formats before exporting, the 3D file formats guide can help frame the choice around geometry, materials, animation, and downstream compatibility.
Exporting OBJ from Blender with the Right Settings
Start with a copy of the Blender file. Apply destructive cleanup and transforms only after saving a version you can return to.
Select the objects you intend to hand off, then choose File > Export > Wavefront (.obj). The exact panel layout can vary between Blender releases, but the decisions remain consistent.

Set the export scope first
Enable Selection Only when the file should contain only the asset being delivered. This prevents hidden helpers, reference meshes, or unrelated scene objects from entering the handoff. Disable it only when the receiving application expects the entire visible collection.
For geometry, Apply Modifiers is usually the safer choice for a delivery mesh. It writes the evaluated result rather than relying on the destination application to reproduce Blender's modifier stack. Check the result before export, because applying modifiers can increase density or change the silhouette.
Use Write Normals when the destination needs the normals stored in the OBJ. Enable Include UVs for textured assets. Without UV coordinates, the material may exist but the receiving application won't know how to place image textures across the surface.
Match the destination axes
Axis settings are not cosmetic. Blender's coordinate conventions may differ from Unity, Unreal Engine, Maya, or a slicer, and the wrong choice can rotate an imported model onto its side or invert its expected forward direction.
Choose the Forward and Up axes based on the receiving tool's documentation or an existing asset exported successfully for that pipeline. Don't guess from the viewport. Export a simple test object first, import it into the target application, and record the orientation that works.
Scale deserves the same discipline. Keep the scene units consistent, then verify the imported dimensions downstream. If a client, engine, or slicer expects a specific real-world unit, confirm that expectation before exporting rather than correcting size after delivery.
Use triangulation only when the destination needs predictable triangles, such as a real-time or manufacturing workflow. Otherwise, preserve clean polygons if the receiver can handle them. OBJ can represent polygonal geometry, but non-planar faces and complex ngons may be interpreted differently between applications.
The exporter's material options create an MTL companion file. They don't embed a complete Blender shader network. For a reliable delivery, export to a clean folder and inspect the files before sending them.
The workflow is easier to remember when the settings are tied to the handoff:
- Selection Only: Include only the intended asset.
- Apply Modifiers: Deliver evaluated geometry when the modifier stack isn't part of the requirement.
- Include UVs: Preserve texture coordinates.
- Write Normals: Carry the mesh's normal information.
- Axis and scale: Match the destination, then test the import.
- Materials: Create the companion MTL and prepare external texture files.
Use the following visual walkthrough as a reference for the export interface and the order of checks:
Fixing Normals, Scale, and Axis Issues Before Export
Most failed Blender to OBJ handoffs aren't caused by the export command. They come from mesh conditions that were already wrong in Blender and become obvious only after another application interprets them.
Normals must agree with the surface
Flipped normals produce dark faces, missing faces, or inconsistent shading. In Blender, enter Edit Mode, select the mesh, and use Mesh > Normals > Recalculate Outside for a conventional closed surface. Turn on face orientation overlays when you need a visual check. The colored display makes reversed regions easier to isolate before export.
Recalculation won't solve every problem. Internal faces, overlapping shells, non-manifold edges, and disconnected fragments can still produce unpredictable results. Use Select > Select All by Trait > Non-Manifold to locate open boundaries, then inspect whether each edge is intentional.
The cleanest export is usually made before the export dialog opens.
Merge accidental duplicate vertices, remove isolated geometry, and inspect sharp transitions that may indicate overlapping surfaces. If the asset is intended for printing, verify that the mesh forms a coherent closed volume. If it's a render or game asset, check for accidental interior faces and unwelded seams that could create shading or normal splits.
Apply transforms deliberately
Object scale and rotation can look correct in Blender while remaining unapplied in the object data. Select the object and use Ctrl+A > Rotation & Scale when the downstream pipeline expects the mesh to arrive with stable transforms. Apply location only when the destination requires the object's origin and placement to be baked into the mesh.
Before applying anything, confirm the object's origin and intended pivot. Applying transforms can make later edits less convenient, especially if the origin carries meaning for a game engine or animation setup. Save a version first.
A useful pre-export check is simple:
- Dimensions: Confirm the displayed size matches the intended real-world asset.
- Rotation: Verify the object's local axes and front direction.
- Scale: Look for unapplied values that could confuse the receiver.
- Normals: Inspect face orientation and recalculate where appropriate.
- Topology: Search for holes, duplicate vertices, non-manifold edges, and unwanted fragments.
- Geometry density: Confirm that modifiers haven't created unnecessary complexity.
Axis errors are easiest to catch with a temporary test object. Export the model with a visible front marker or a simple cube beside it, import the result into the target tool, and compare orientation. Remove the marker from the final export after the convention is confirmed.
Remember that OBJ doesn't preserve Blender's object hierarchy or transformation relationships. If several parts must remain separate, decide whether to export them as separate objects in one OBJ or as separate files. Don't assume the receiving tool will reconstruct parenting from the Blender scene.
Packaging OBJ Files with Materials and Textures
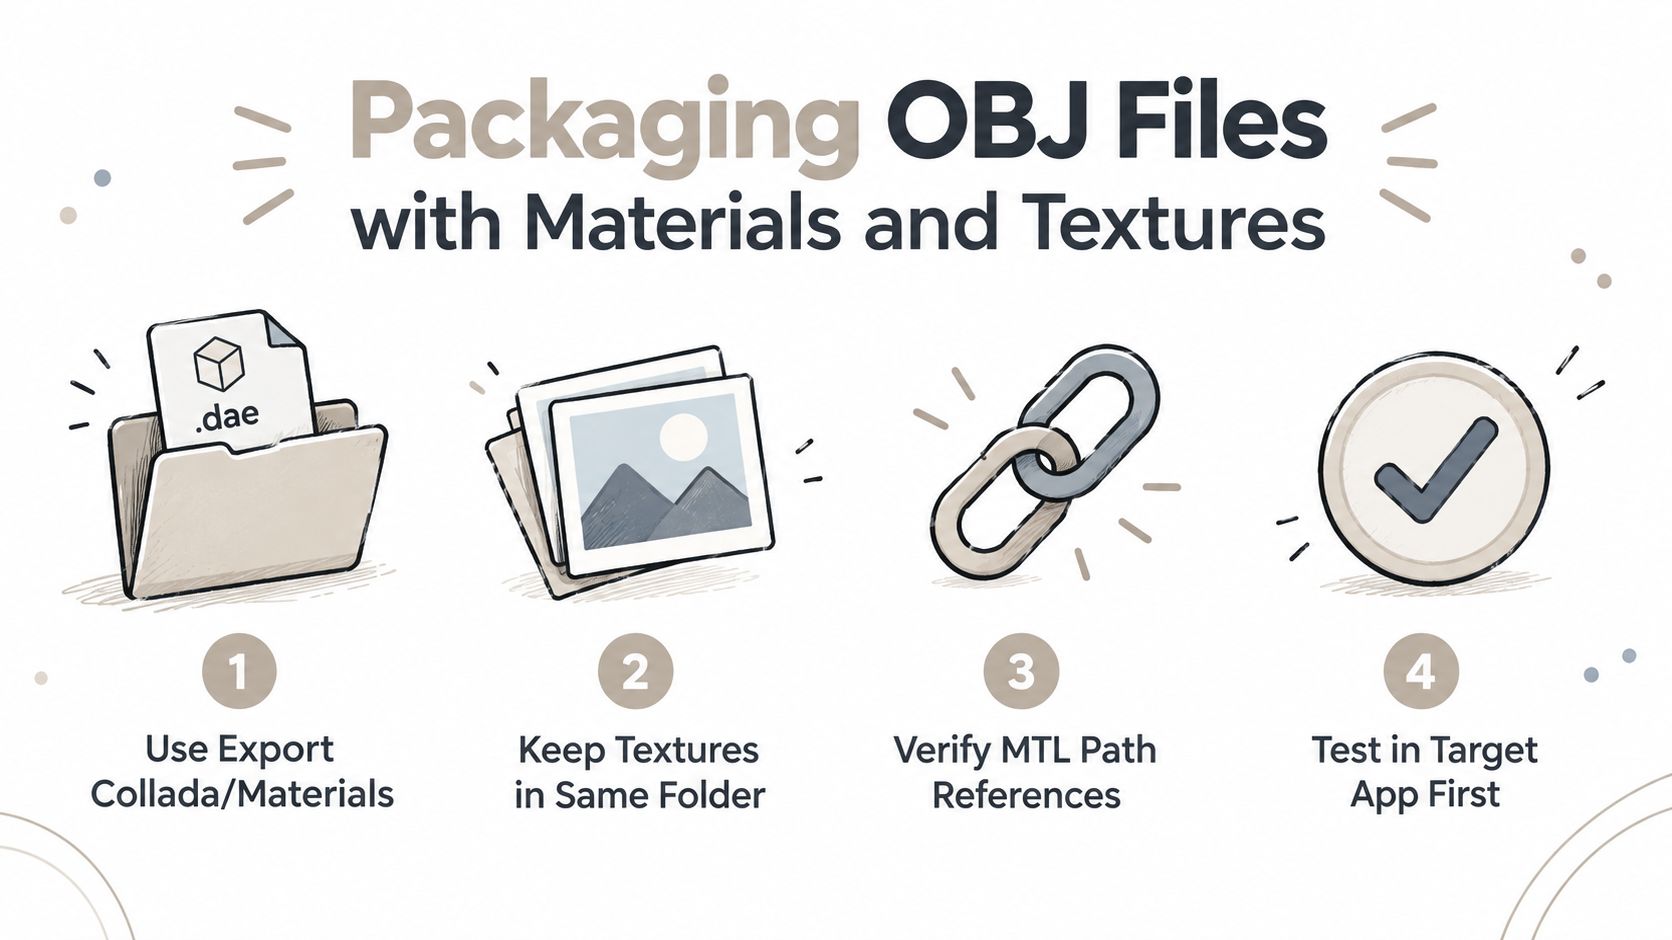
An OBJ texture handoff is rarely a single file. The geometry lives in the .obj, material definitions generally live in an .mtl, and image textures remain external files. The Blender Stack Exchange discussion about OBJ textures reflects the recurring problem: saving or packing resources inside the Blender project doesn't automatically make them portable through OBJ export.
Create a dedicated export folder rather than exporting into a crowded project directory. Give the asset a clear filename, use predictable texture names, and avoid unusual characters that another operating system or application may interpret differently.
Build a portable folder
A practical package contains the OBJ, its MTL, and every image referenced by the material. Keep the relationship simple:
- Model file: Contains the mesh and UV coordinates.
- Material file: Maps material names and image references.
- Texture folder or files: Stores the images the MTL points to.
- Readme, if needed: Records units, axis orientation, and intended destination.
In Blender's OBJ export options, use a path mode that copies external files when that option is available. The purpose is to make the references portable, not to preserve a path that exists only on your workstation. If the MTL points to an absolute location on your computer, another artist won't be able to resolve it.
Check the material setup before exporting. OBJ's material support is basic, and procedural Blender materials won't reproduce as a node graph in the receiving application. If a surface depends on procedural noise, ramps, mixes, or other node networks, bake the appearance to image textures when visual consistency matters.
For the most broadly compatible result, connect the intended image directly to the material's base color workflow and confirm that the image is saved to disk. Keep normal, roughness, and metallic maps organized, but don't assume every OBJ importer will interpret them consistently. Many destinations handle diffuse color more predictably than richer material channels.
Test the package as a stranger would
Don't test from the original export folder alone. Copy or archive the complete package, move it to a separate location, and import the OBJ from there. This catches hidden dependencies on folders that happen to exist on your machine.
Open the MTL in a text editor and inspect its image references. Each referenced file should exist at the corresponding relative location. Then import the package into a clean Blender scene or the actual destination application and switch to its material preview mode.
A client delivery should include the complete folder or archive, not just the OBJ. For marketplace uploads, follow the platform's required folder structure while keeping the MTL and textures connected. For a production handoff, include a preview render or viewport screenshot so the receiver can compare the intended appearance against the imported result.
The 3D models and textures guide is useful when the handoff includes more than a basic color map and you need to plan how texture data should travel with the asset.
When OBJ Is the Wrong Choice and What to Use Instead
OBJ is a strong choice for a static mesh exchange. It becomes a poor choice when the receiving application needs the parts of the Blender scene that OBJ intentionally leaves behind.
Use OBJ when the handoff prioritizes portable geometry, UVs, and basic material references. It works well for a static prop, a sculpt, a mesh review, or a model moving between applications that all understand the format. It's also serviceable for a texture-bearing asset when you deliver the MTL and image files as a tested package.
Choose another format when the data requirement changes:
| Requirement | More suitable direction | Why |
|---|---|---|
| Rigged character or animation | GLB or FBX, depending on the destination | OBJ doesn't carry armatures or animation data. |
| Compact web or real-time asset | GLB | A modern scene-oriented workflow can keep more asset data together. |
| Geometry-only manufacturing handoff | STL or a carefully validated OBJ | The priority is clean, correctly scaled geometry rather than materials. |
| Full scene relationships | A scene-capable format | OBJ drops lights, cameras, parenting, and hierarchy. |
GLB is often a better fit for web viewers and real-time workflows when materials, scene structure, and animation need to stay associated. FBX remains common in character and game pipelines, but compatibility depends on the version, exporter, and destination settings. Test it just as you would test OBJ.
STL makes sense when the slicer or fabrication workflow needs surface geometry and doesn't require UVs or textures. It won't preserve color or Blender materials, so exporting STL for a textured presentation asset throws away information unnecessarily.
Choose the format from the next task, not from the software you're leaving.
For a direct comparison of printable and general-purpose mesh workflows, see STL versus OBJ. If you're unsure, export a small representative asset in the candidate formats and test each one in the actual destination before committing to a larger batch.
Pre-Export Validation and Next Steps
Before exporting, inspect mesh integrity, recalculate normals where needed, apply rotation and scale deliberately, verify UVs, confirm axis orientation, and package the OBJ, MTL, and textures together. Reopen the copied package in a clean scene or the target application, then check dimensions, shading, materials, and object separation. For printing, validate the closed mesh in the slicer. For a game engine, test the import with the intended axis and scale. For client delivery, send the tested package rather than the OBJ alone.
Sculpty provides browser-based 3D generation, texturing, remeshing, retopology, viewing, conversion, and exports including OBJ, GLB, STL, FBX, USDZ, and 3MF. If you need to create or prepare assets before a Blender handoff, explore Sculpty and test the exported package in your destination pipeline.