
Photo in 3D Effect: From One Image to a Usable 3D Asset
The popular advice says a photo in 3D effect is just a matter of clicking a button and watching depth appear. That's the wrong mental model. In production, the actual question isn't whether the image looks three-dimensional for a second, it's whether the result holds up when you inspect the sides, the back, the underside, and the scale.
Table of Contents
- What a Photo in 3D Effect Actually Involves
- Why a Single Photo Can Never Tell the Whole Story
- Preparing Your Photo and Prompt for Sculpty
- From Raw Mesh to Clean Game Ready Geometry
- PBR Texturing, 4K Rendering and 360 Turntable
- Troubleshooting and Knowing When to Add More Views
What a Photo in 3D Effect Actually Involves
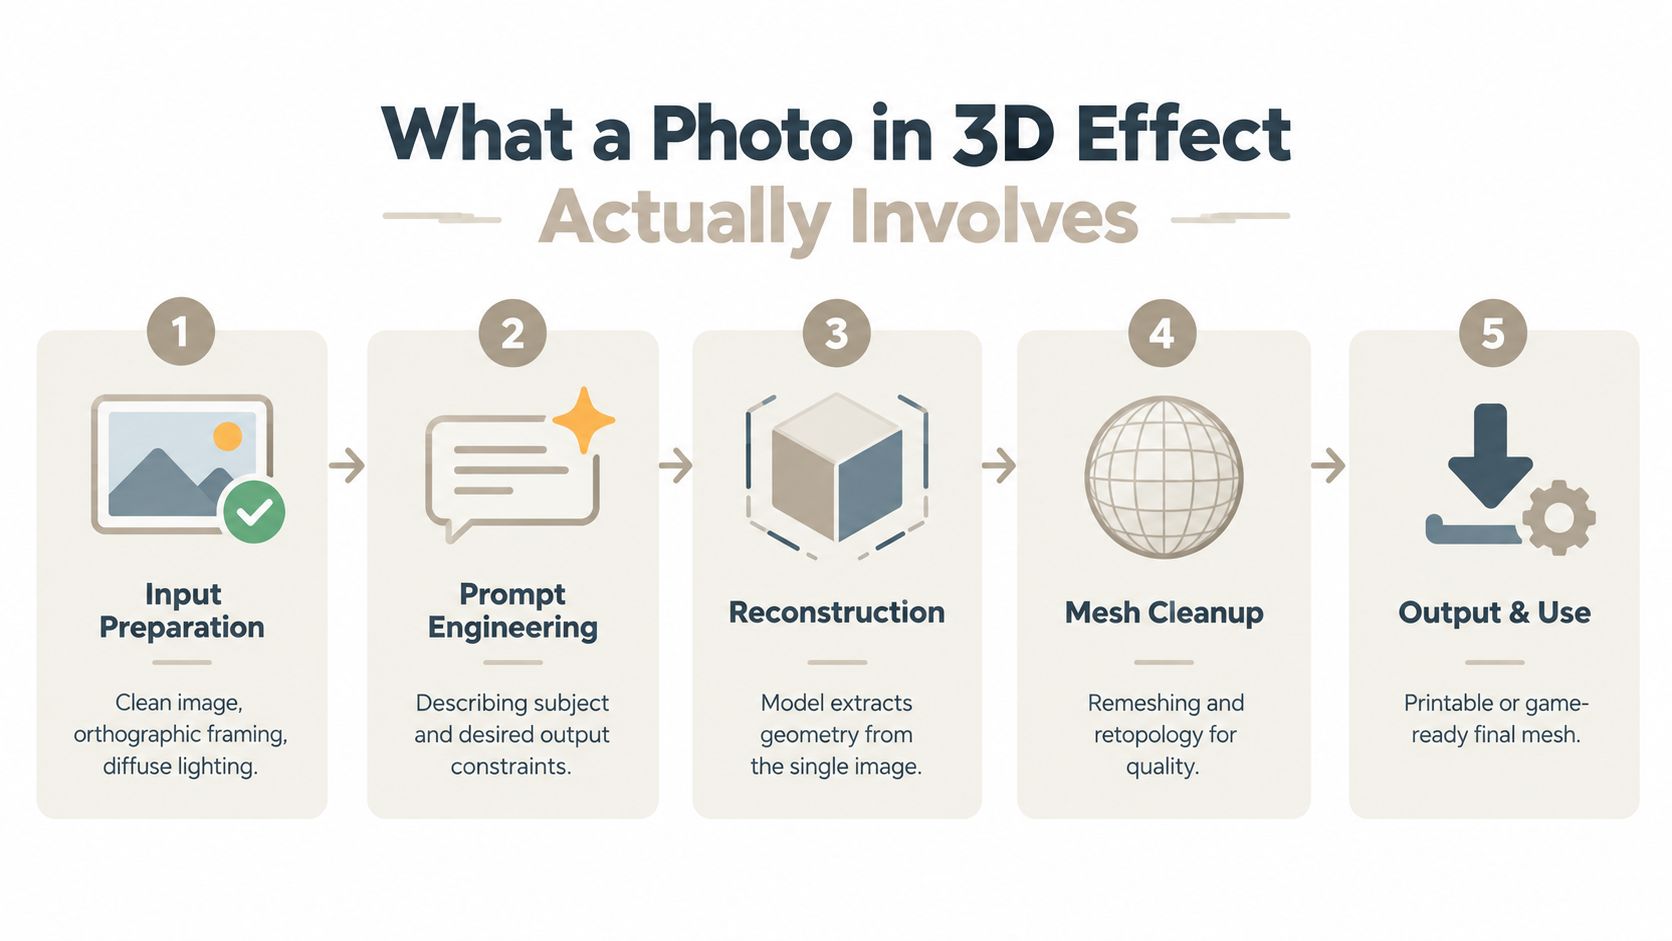
A usable photo in 3D effect is a short reconstruction pipeline, not a single filter pass. You start with a photo that gives the system enough evidence, then you decide how much geometry you want to infer, then you clean that geometry until it can survive a render, a print job, or a game engine without collapsing.
The five stages that matter
The first stage is input preparation. A clean image, strong silhouette, diffuse light, and visible contact points give the reconstruction system a better chance of separating the subject from the background and estimating shape from cues that mean something. A near-orthographic view helps because it reduces perspective distortion, which makes the later mesh easier to trust.
The second stage is prompt design, if the tool uses a text prompt, and the third is reconstruction. That's where the system estimates depth, fills in hidden regions, and tries to turn a flat image into a spatial object. The fourth stage is mesh cleanup, where retopology, remeshing, and hole filling decide whether the asset is just a demo or something you can hand to another artist.
The fifth stage is output and use. That means texturing, rendering, and export, usually to a format that another tool can read without wrecking the asset's structure. If you want a practical companion guide to the visual side of the workflow, the AIMVG tutorial for AI video creation is a useful adjacent reference because it treats a still image as the source for a motion pipeline, which is the same discipline you need here.
Practical rule: if the back, underside, or hidden edge matters to the final deliverable, assume the single photo is only a starting point.
That's the production mindset behind browser-based studios such as Sculpty. Its image-to-3D path can turn a single photo into a watertight mesh, and its multi-view path can use several angles when fidelity matters more than convenience. Use the first for concepting, use the second when the asset has to survive scrutiny.
Why a Single Photo Can Never Tell the Whole Story
The old stereoscope principle already explained the core truth behind modern 3D from photos. Depth appears when the brain compares different viewpoints, which is why Wheatstone's 1838 work on stereoscopic vision still matters conceptually today, long before photography was public in 1839 and long before stereographs became a mass-market format between roughly 1870 and 1920, as documented by Toronto Metropolitan University's library history of 3D imaging (Toronto Metropolitan University Library). One image can suggest depth, but it can't measure it by itself.
Hidden geometry, scale, and ambiguity
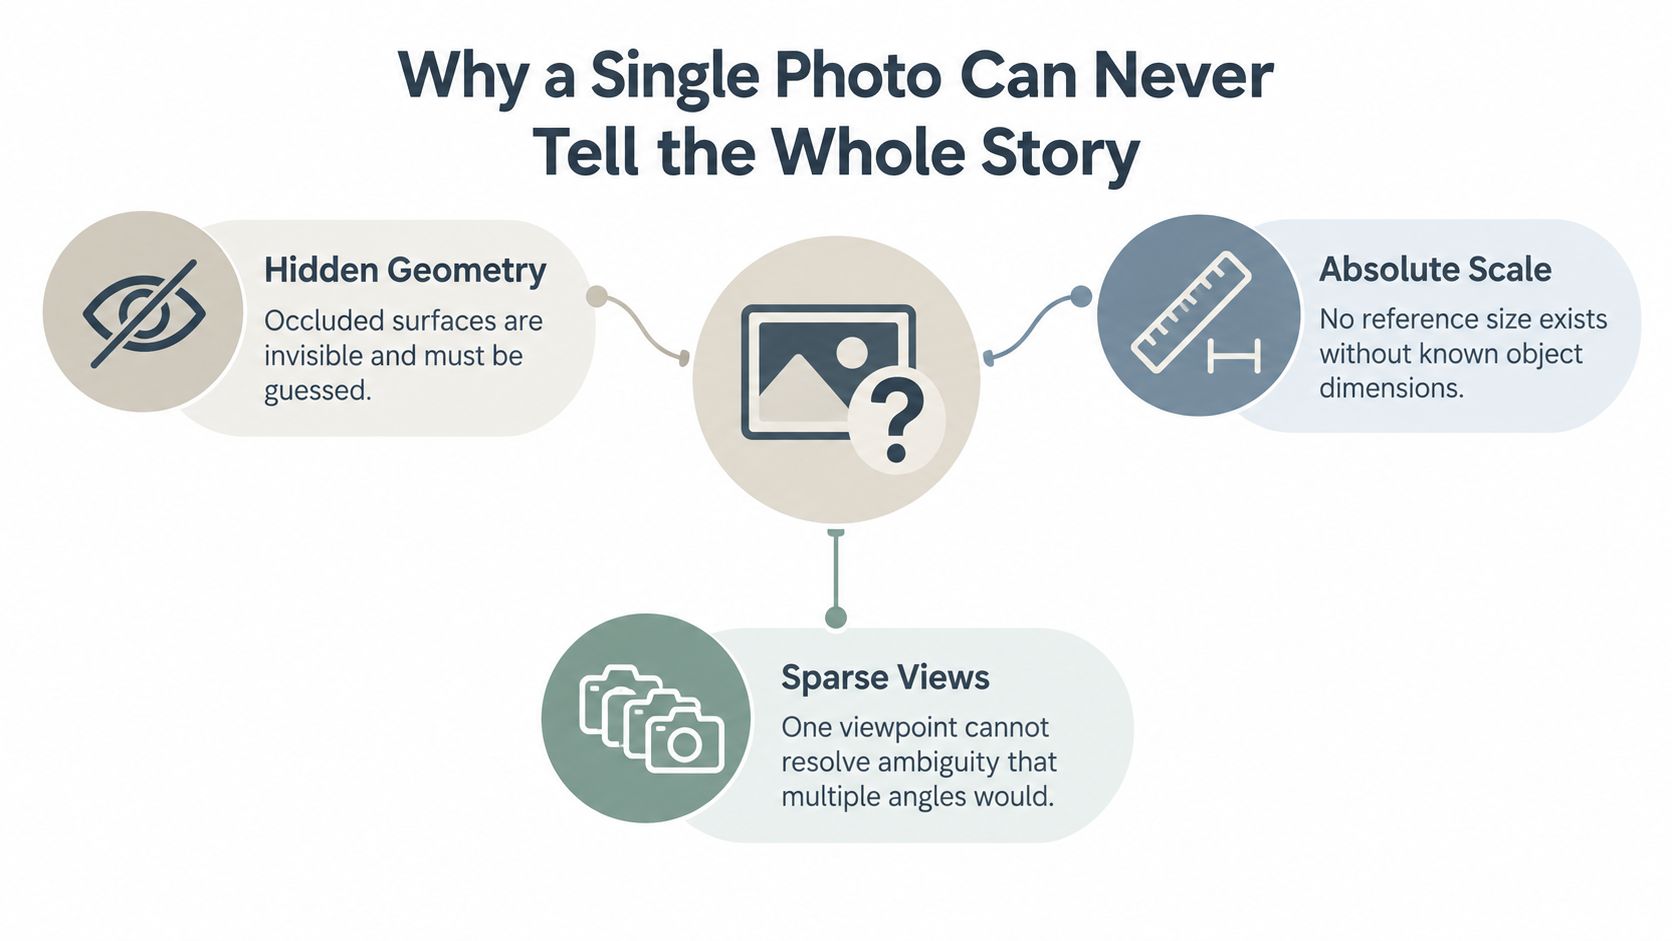
A single photo hides anything the camera can't see. That includes backsides, undersides, recesses, thin parts, and surfaces blocked by other objects, so those areas can only be inferred rather than observed. If the model gives you a rear panel, a handle, or a cavity from one angle, that's a hypothesis, not a measurement.
Scale is the other trap. Without a known reference, the system can produce something that looks proportionate while still being wrong in absolute size, which is why a reference dimension matters whenever the output needs to fit a product spec, a rig, or a print bed. This is where many convincing previews fail, because they look right in isolation and fail the moment you compare them to a real object.
A model that looks believable from the front can still be wrong in the places that matter most.
That's also why sparse-view reconstruction exists. Multiple views reduce ambiguity by giving the system more evidence for the same surface, which is closer to how real 3D perception works. Recent single-image research keeps pushing toward better inference, but it still treats unseen geometry as a prediction problem, not a direct observation problem, and that distinction should guide every production decision.
The practical lesson is simple. A photo in 3D effect is strongest when you treat visible surfaces as observed, hidden surfaces as inferred, and missing surfaces as unknown until another angle proves otherwise.
Preparing Your Photo and Prompt for Sculpty
The file you upload decides far more than you expect. A high-resolution image with a near-orthographic or mildly perspective view, diffuse lighting, a strong silhouette, and visible contact points gives the reconstruction pass something stable to work from. If metric output matters, add a reference scale marker, because geometry without scale is still only a guess.
What to feed the image-to-3D engine
Keep the subject clean. Avoid busy backgrounds, harsh reflections, transparent materials, and overlap that hides edges you'll want later in the mesh. If you're using a multi-view-to-3D job, the same logic applies across angles, because each view should add new evidence instead of repeating the same ambiguity.
The prompt should describe the subject and the output constraints, not just the vibe. For a social-ready effect, you can ask for a stylized figurine look, soft forms, and simplified materials. For a product asset, ask for faithful proportions, closed surfaces, and a neutral material response, because the system needs to know whether it's allowed to embellish.
Here are two prompts that hold up in practice:
- Stylized social version: “Create a clean, stylized 3D figurine from this single photo, keep the silhouette readable, soften micro-detail, and preserve the subject's overall pose and identity.”
- Faithful product version: “Reconstruct this object as a realistic 3D asset, preserve proportions, keep the geometry watertight, maintain clean edges, and avoid inventing unseen structural details.”
Sculpty's image-to-3D and multi-view-to-3D engines fit those two use cases cleanly. The first is useful when you need a fast visual, the second when the asset has to match what's in the photo set. That split matters more than any stylistic preference.
Checklist before you upload: clear silhouette, diffuse light, no heavy occlusion, visible contact points, neutral background, and a reference marker if size matters.
If you want a second opinion on how to think about modeling discipline, the multi-view 3D reconstruction guide is a sensible companion read because it reinforces why one clean photo and several evidence-rich angles solve different problems.
From Raw Mesh to Clean Game Ready Geometry
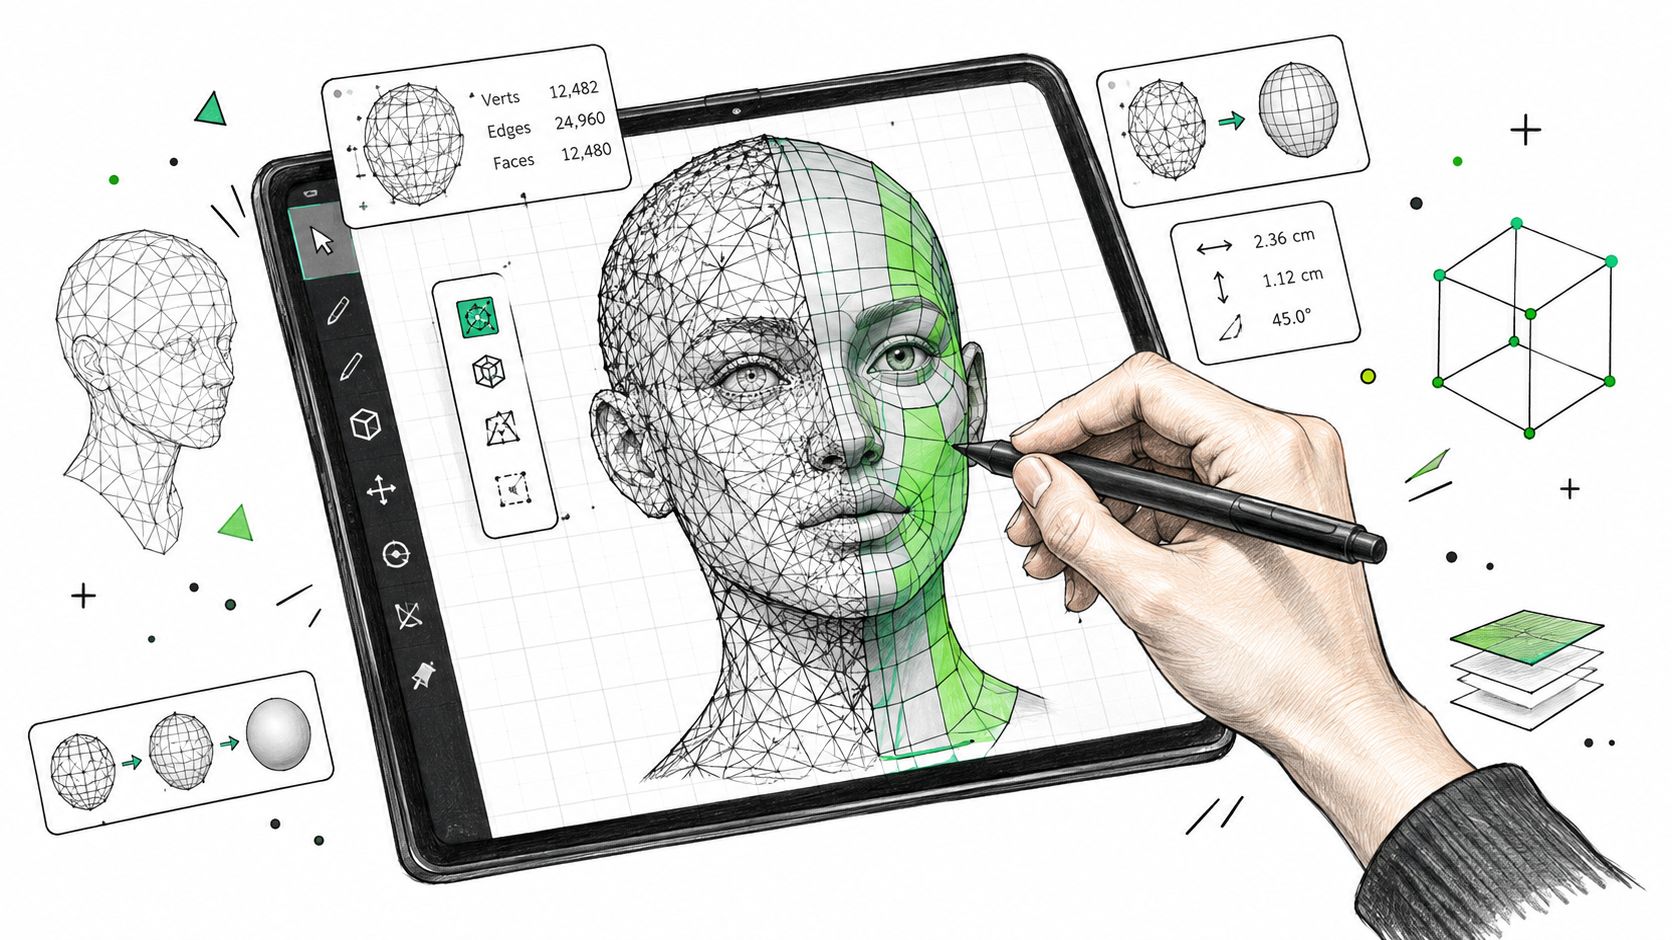
Raw reconstruction is not the finish line. It's the point where you decide whether the mesh can become an asset or stay a preview, and that decision should happen before texturing or export. Remeshing and retopology are quality control, because they determine whether the shape can be edited, shaded, animated, printed, or even opened in another program without ugly surprises.
What to inspect before you trust the mesh
Start with watertightness. If the mesh has holes, missing caps, or broken boundaries, it won't behave well in printing or simulation. Then check self-intersections, because intersecting surfaces can look fine in a viewport while still creating shading errors, slicer failures, or unpredictable boolean results.
Next, look at polygon density and surface flow. Too much density in the wrong place slows everything down, while too little density destroys form when the model is smoothed or deformed. Decimation can help reduce weight, but only after you've confirmed that the silhouette still reads from the angles that matter.
Use retopology when the asset needs cleaner quads or game-friendly structure. Use a simple remesh when you're blocking a concept and topology doesn't need to support animation yet. That difference is why a rough concept block can ship earlier, while a real production asset has to pass the inspect pass before anyone calls it done.
For game workflows, modeling for games is the right mental frame, because the question isn't “does it look good in one view?” It's “does it hold up under movement, lighting changes, and engine constraints?”
The cleanup order that saves time
- Fill holes first so the asset stops leaking geometry.
- Smooth normals next so you can see the actual form instead of shading noise.
- Retopo or remesh to make the surface usable.
- Decimate only if needed to hit a target poly budget.
- Recheck scale and proportions before moving to texture work.
If the mesh can't survive a turntable inspection, it's not ready for texturing.
That's the stage where many photo-to-3D jobs get saved or abandoned. The better you are at reading broken edges, stray surfaces, and distorted curvature, the less time you waste trying to “fix it in texture.”
PBR Texturing, 4K Rendering and 360 Turntable
Texture work only helps if the rebuilt geometry is already credible. PBR materials need to agree with the mesh, because albedo, roughness, metalness, and normal maps all reinforce the same illusion. If the shape is wrong, the texture just makes the mistake more convincing.
Use a material prompt that matches the object, not the image style. A brushed metal part wants a different response than a clay figurine, and the same texture pass can make one look precise while making the other look plastic. For a more detailed map-centric workflow, Sculpty's PBR texture maps guide is relevant because it focuses attention on how surface information should support, not fight, the mesh.
Texture and render choices that hold up
For a mechanical part, ask for clean metal edges, restrained surface variation, and accurate specular response. For a stylized figurine, ask for matte clay-like materials, minimal micro-detail, and soft shading that doesn't exaggerate tiny reconstruction errors. The goal is consistency, not visual noise.
Once the texture pass looks coherent, move into a render stage that matches the final use case. A 4K render is useful because it exposes problems that a low-res preview hides, especially around seams, roughness breaks, and silhouette artifacts. If the render looks soft, the asset usually reads as unfinished even when the topology is acceptable.
The fastest honesty test is the 360 turntable with a transparent background. If the rear view collapses, if the shoulders drift, or if the form changes from frame to frame, the model has hallucinated geometry rather than reconstructed it. That kind of drift is the warning sign that the single image didn't contain enough evidence in the first place.
If you need a reference for how 360-style presentation works in motion, LesFM's 360 video resource is a helpful adjacent read because it shares the same review logic, a rotating subject reveals shape errors faster than a still render does.
Two prompt patterns that work
- Metal part: “Apply realistic PBR materials for a brushed steel component, keep the roughness subtle, maintain crisp edge response, and avoid decorative wear.”
- Clay figurine: “Apply a matte clay PBR finish, preserve the simplified sculpted form, and keep reflections soft and uniform.”
The honest rule is simple. If the turntable exposes view-to-view drift, the asset still needs more evidence or more cleanup before anyone treats it as final.
Troubleshooting and Knowing When to Add More Views
The hardest failures are also the most predictable. Glossy surfaces, transparent materials, packaging, hands, clutter, and missing undersides all break the effect because the system can't confidently observe what the camera never really captured. In those cases, a more aggressive model often invents a prettier lie instead of a better answer.
When one photo is the wrong tool
If the back or underside matters, add views. Two or three extra photos usually beat asking a stronger model to hallucinate a critical region, especially when the missing area is structural, printable, or visible in a client review. That's not a preference, it's a confidence decision.
Use single-photo output when the goal is stylized social content, a rough concept, or a quick blocking pass. Use multi-view capture for products, collectibles, mechanical parts, AR assets, and anything that needs to survive close inspection. If the subject is partially blocked, try masking or removing the occluder first, because cleaner evidence is still better than clever guessing.
The best quick check is a simple question set:
- Can I see the hidden areas? If not, assume they're inferred.
- Does the turntable stay stable? If not, the mesh is drifting.
- Does scale matter? If yes, compare against a known reference before export.
- Will someone print or ship this? If yes, inspect watertightness and wall thickness first.
That logic applies across export formats too. GLB and USDZ are handy for review and web delivery, STL and 3MF matter for printing, and OBJ or FBX remain useful when another DCC tool needs the asset in a familiar format.
A practical workflow is to trust the photo in 3D effect for what it can prove, then spend extra capture effort where the business risk is highest. That's how you avoid shipping a beautiful front view and a broken asset.
Sculpty gives you a browser-based place to turn single photos or multi-view sets into 3D assets, then clean, texture, render, and export them without jumping between disconnected tools. If you're working on a photo in 3D effect and need a faster path from concept preview to something you can inspect, print, or hand off, visit Sculpty and test the workflow on your own image set.