
How to Create a 3D Sun Model for Games and Scenes
You've got a bright sphere in the scene, the material is glowing, and yet it still reads like a neon ball rather than the Sun. The problem usually isn't the polygon count. It's the relationship between emission, bloom, scale, shadowing, and export behavior. A convincing 3D sun model is less about sculpting a complicated sphere and more about building a controlled lighting asset that survives the trip from Blender or your DCC into a real-time engine.
The best results come from separating responsibilities. Let the mesh provide the solar disk, let the shader create surface energy and variation, let post-processing or particles handle the halo, and let the directional light illuminate the environment. That separation gives you a model that looks strong in a cinematic render without forcing a game engine to ray-march an expensive volume every frame.
Table of Contents
- Building Your 3D Sun Model Foundation
- Creating Realistic Solar Emission Materials
- Adding Volumetric Glow and Atmospheric Effects
- Exporting Your Sun Asset for Different Platforms
- Common Pitfalls and Performance Optimization Tips
Building Your 3D Sun Model Foundation
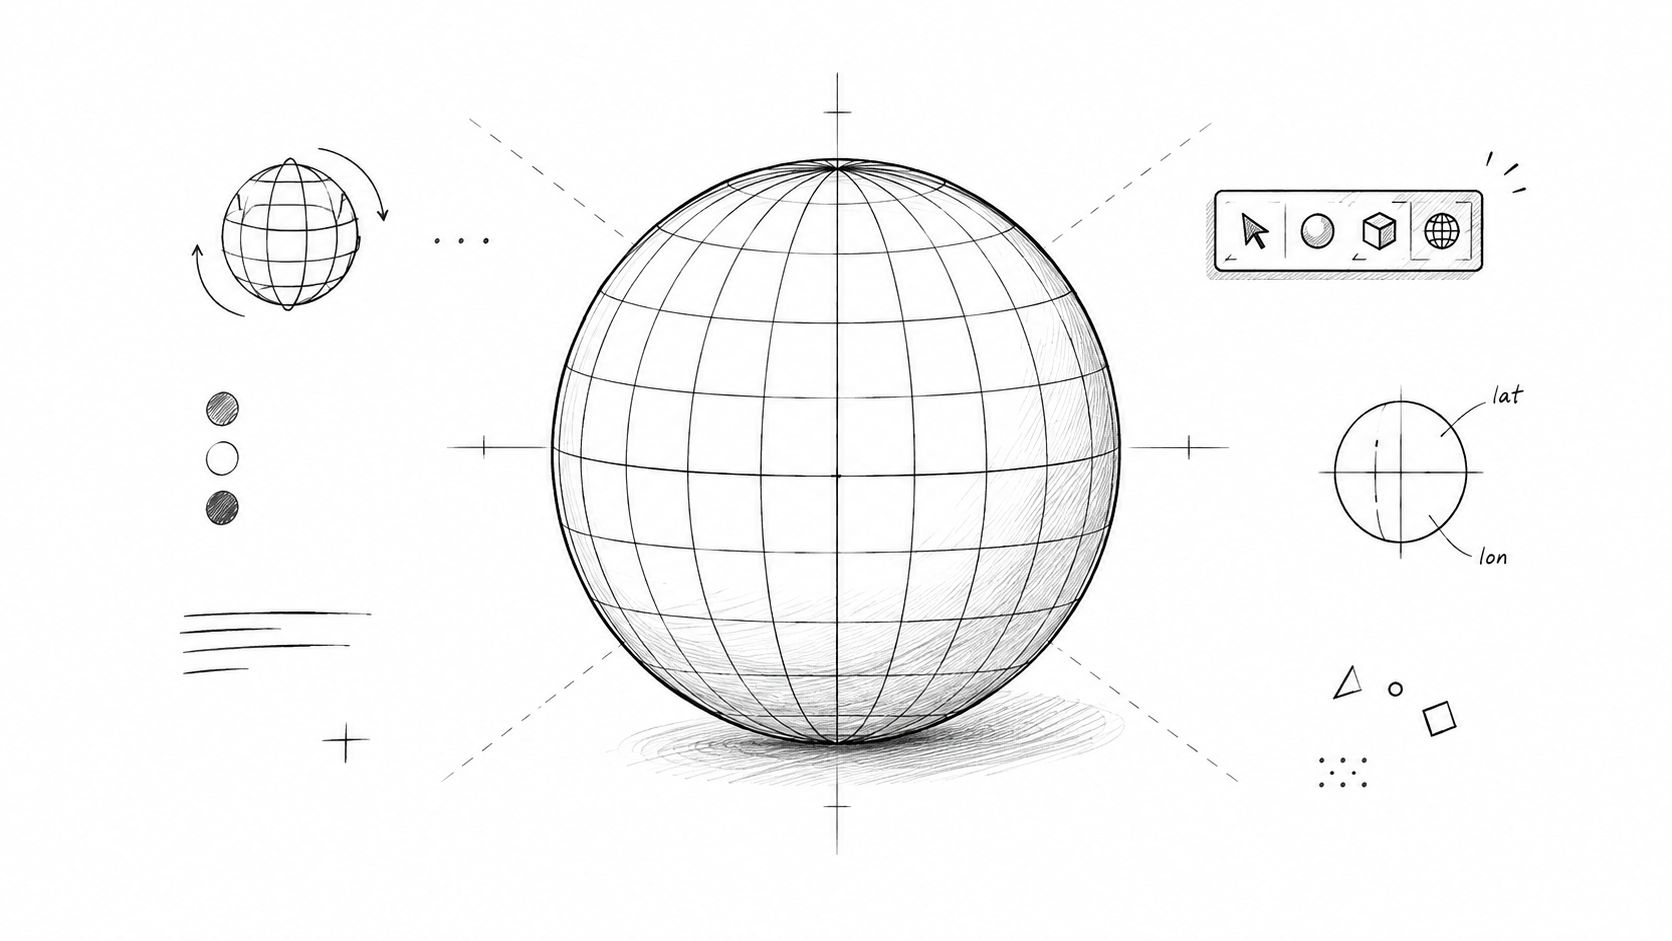
Start with a UV sphere. For a game-ready sun, a simple sphere is usually enough because the viewer will read the object through emission, bloom, and atmospheric effects, not through close-up geometric detail. Add one or two subdivision levels only if the silhouette shows visible faceting or your shading needs a smoother transition at the edge.
Before touching the final material, establish the scene correctly. Place the sphere at the center of your world or at the location required by your shot, then decide whether the sun is a physical object, a visual proxy, or both. Astronomical scale rarely helps in a game scene. A distant directional light can represent illumination while the visible sphere remains positioned for camera composition.
Establish scale and orientation first
Apply transforms before export, and choose a consistent forward axis, up axis, and unit convention. A solar disk that looks correct in Blender can appear tiny, rotated incorrectly, or disconnected from its light source after import if the target engine interprets axes differently.
Use a standard, non-emissive material during the first lighting check. This makes it easier to verify the sphere's position, camera distance, light direction, and shadow behavior without a bright shader hiding mistakes. Confirm that the environment responds to the light before adding bloom or atmospheric layers.
A useful visual check is to treat the sphere like any other rounded form at this stage. The principles behind core shadow and reflected light still matter, even though the final sun will generate its own illumination. If the form has no readable edge, transition, or relationship to the surrounding scene, an emission pass alone won't make it convincing.
Keep the mesh simple and the scene deliberate
The visible solar surface can use a modest UV layout because procedural noise often provides more useful variation than a large painted texture. Keep the poles clean, avoid unnecessary loops, and make sure the sphere has consistent normals. Hard edges or uneven smoothing will become obvious once the glow is restrained for distant views.
Set up a test scene with a dark background, a neutral environment, one receiving surface, and a camera that can frame both the disk and its halo. This gives you a repeatable baseline. Save it before adding engine-specific effects, so you can distinguish a modeling problem from a post-processing problem.
For the wider asset workflow, the same discipline applies to modeling for games. The model should serve its runtime role first. A high-detail solar sphere that contributes nothing to the silhouette or lighting is wasted geometry and makes later optimization harder.
Practical rule: Build the sphere as if it were simple, then spend complexity only where the camera, light transport, or export pipeline can actually use it.
Creating Realistic Solar Emission Materials
The Sun isn't a painted object with a lamp pointed at it. It generates energy, so the shader needs a genuine emission path. In Blender, Unreal Engine, and Unity, start with an emissive material and treat the visible color and the lighting contribution as separate controls whenever the renderer allows it.
A single yellow color usually fails because it produces a flat, graphic result. A better material combines a warm base with controlled variation. Use a pale yellow or near-white core, introduce orange-red variation toward hotter-looking patches, and keep the contrast restrained enough that the surface still reads as a luminous body rather than a noisy texture.
Build the material in layers
A practical node structure can remain simple:
- Feed procedural noise or turbulence into a color ramp.
- Use the ramp to mix warm emission colors.
- Multiply the result by an emission strength control.
- Connect that value to the engine's emissive input.
- Add a separate mask for subtle edge or rim variation if the renderer supports it.
Noise should break uniformity, not describe literal flames. The Sun's visible surface contains complex granulation and changing magnetic structures, but a consumer asset shouldn't pretend that one texture reveals the complete solar interior. NASA computational work models convection as dynamic plasma motion, including a high-resolution simulation built on a 1024 × 512 × 512 mesh, more than 268 million computational zones, running on 1,024 processors of the Pleiades supercomputer NASA's solar convection simulation. That scale is a useful warning: a procedural noise layer is an artistic approximation, not a physically complete solar simulation.
Use several noise scales rather than one obvious cloud texture. A broad, slow pattern can define large color regions, while finer noise adds breakup. Animate only if the asset needs visible surface motion. Static noise often works better for a distant sun because fast movement creates shimmer and draws attention to the texture rather than the light.
Separate what the eye sees from what the scene receives
In a physically based renderer, emission color and exposure interact strongly. If you raise emission until the disk looks bright, the surrounding scene may clip or bloom excessively. Use exposure and bloom thresholds to control the presentation, and use a separate directional or point-light representation when the engine needs reliable illumination.
This separation is especially important in Unreal Engine and Unity. An emissive surface may appear bright without casting useful light on nearby geometry, depending on the renderer and lighting setup. Treat the visible sphere as the display layer and the directional light as the lighting layer. Match their direction and color, then adjust intensity independently.
A PBR texturing workflow can still help with the supporting surfaces and any close-up solar asset, but don't confuse texture resolution with physical accuracy. A clean procedural shader often gives you better control, lower memory use, and easier platform scaling than a large hand-painted map. For material planning, 3D models and textures provides useful context on how geometry and surface data need to work together rather than compete.
Don't label an illustration as a simulation
A textured sphere can be a good educational or cinematic asset, but it isn't automatically a physics-based sun model. NASA models solar interiors with hydrodynamics and magnetohydrodynamics, and they can generate synthetic observations for comparison with instruments. Those models address convection, rotation, magnetic fields, and subsurface behavior that a visible texture cannot reproduce.
For production, label the asset with care. Call it a visual solar disk, a stylized 3D sun model, or a shader-driven solar surface unless it uses measured or simulated data. That distinction helps artists choose the right level of detail and stops a beautiful material from being mistaken for scientific evidence.
Adding Volumetric Glow and Atmospheric Effects
A bright sphere can look like a lit ball rather than the Sun once the camera moves or the background changes. The convincing result comes from separating the solar disk, halo, corona, and scene illumination, then tuning each layer for the shot and target hardware. This structure preserves the silhouette while letting you reduce expensive effects without flattening the image.
Start with bloom. It costs less than full volumetric scattering and gives the disk a controlled halo in a cinematic or real-time view. Set the emissive threshold so only the solar disk and selected glow elements contribute. If every bright material blooms, contrast collapses and the sun loses visual priority.

Use a layered glow instead of one expensive effect
A practical real-time stack includes four or five separate parts:
- Solar disk: The emissive sphere supplies the hard visual edge.
- Inner halo: A transparent or additive sphere uses radial falloff to soften the boundary.
- Outer corona: A billboard, particle layer, or low-detail shell creates the wider atmospheric impression.
- Scene illumination: A directional light controls shadows and reflected light on nearby surfaces.
- Optional volume: Fog or scattering adds depth when the camera and platform can support the cost.
The radial gradient usually matters more than polygon density. Keep the brightest value close to the disk, fade smoothly through the inner halo, and make the outer layer broad enough to remain visible after compression and at distance. Additive blending gives a strong stylized corona, but it can wash out the background. Alpha blending provides finer control, although transparent sorting may create artifacts around overlapping shells.
For distant views, a billboard particle with a radial texture is often the most efficient choice. It stays camera-facing, needs little geometry, and avoids ray marching. A close cinematic shot can justify a shallow volume or several layered shells, but evaluate the effect against the final background. A physically plausible volume that vanishes in composition is spending render time without improving the image.
Let lighting and glow solve different problems
Glow shows where the energy appears concentrated. Directional light shows how that energy affects the scene. If glow carries the illumination, nearby objects can remain visually flat. If an overly strong light compensates for a weak halo, shadows become harsh and exposure becomes difficult to control.
A convincing setup often uses a restrained disk, controlled bloom, and a separate light whose color sits close to the disk's core. Lock the light direction to the visible sun. Even a small mismatch becomes obvious when shadows point from one source while the glowing sphere suggests another.
The same discipline of separating disk, halo, and light applies to broader digital rendering art, where layered effects must survive motion rather than only a still frame. Pan and orbit the camera, change exposure, and inspect the effect against different backgrounds. Watch for halo flicker, camera-dependent volume changes, and bloom clipping. A still image can hide all three problems.
Create distance-based quality tiers
Interactive scenes need predictable cost across viewing distances. Use the full layered treatment for close views, a reduced shell with bloom for mid-range views, and a billboard or simple disk for distant views. Limit the glow's render distance when the sun occupies only a small part of the frame. High-resolution particles add little once their detail can no longer be distinguished.
If the sun drives a large shadow system, update that system at a sensible cadence instead of rebuilding every decorative layer at the same frequency. Test sunrise and sunset separately. Low-angle light exposes alignment errors, halo sorting issues, and shadow softness that can remain hidden in a bright midday composition.
Exporting Your Sun Asset for Different Platforms
Exporting a sun isn't just a matter of choosing a file format. The mesh, material, light, post-processing effect, texture packing, and animation may not travel together. Treat the exported sphere as one part of a platform-specific package, then rebuild engine-dependent lighting and glow where the target runtime can control them.
For web viewers and mobile delivery, GLB is often a practical choice because it packages geometry and material data into one portable file. USDZ can suit Apple-oriented augmented-reality workflows. Unity and Unreal projects commonly use glTF or GLB as interchange formats, though many teams still rely on FBX for broader scene compatibility. The format matters less than whether the target importer preserves scale, orientation, normals, UVs, and emissive values.
Prepare the source scene before export
Clean the asset before opening the export dialog:
- Apply transforms: Freeze scale and rotation so the target engine receives predictable dimensions.
- Name material slots: Use clear names such as
Sun_Disk,Sun_Halo, andSun_Corona. - Check normals: Recalculate or inspect them before export, especially after modifiers.
- Remove hidden clutter: Delete unused cameras, lights, duplicate meshes, and test materials.
- Pack required textures: Keep procedural dependencies out of the handoff unless the engine supports the same nodes.
Export the visible geometry, but don't assume the source application's bloom, volume, or compositor will transfer. Blender compositor effects generally need to be recreated in the engine. Unity may require a separate post-processing volume, while Unreal may use its own exposure and bloom controls. Exporting a bright material without documenting its intended intensity can leave the receiving artist with a dull sphere or a scene-wide whiteout.
Use a portable material contract
For a clean handoff, define what each channel means. The base color should describe the disk's visible color, emissive color should carry the luminous pattern, opacity should control halo layers, and normal data should be omitted unless it provides a clear close-up benefit. If the engine uses different color-management assumptions, the same RGB values may appear noticeably different.
A simple material contract should include:
| Asset part | Recommended role | Engine-side treatment |
|---|---|---|
| Solar disk | Emissive sphere | Emission plus controlled bloom |
| Inner halo | Additive shell or plane | Radial falloff and distance fade |
| Corona | Particle or billboard layer | Lower-resolution effect with culling |
| Directional light | Separate scene object | Recreate and align manually |
| Animation | Optional noise movement | Rebuild with engine shader controls |
Keep the material expressive but not fragile. A baked emission texture is easier to ship than a complex procedural graph, but it loses flexibility. A procedural graph can scale and animate well, yet it may need a custom recreation in Unity or Unreal. For a small team, a baked disk texture plus engine-native bloom is often the safest compromise.
Validate imports in the actual runtime
Check the asset at the minimum target hardware, not only in the authoring viewport. Look for black emission, missing alpha, reversed winding, incorrect texture wrapping, and a halo that sorts in front of the disk. Import the GLB or glTF into a clean test scene before placing it into the production level.
For Unity, verify the material uses the intended render pipeline and that HDR emission and bloom are enabled through the project's post-processing setup. For Unreal, inspect exposure, translucency, material blend mode, and whether the emissive value is being clamped by the project configuration. For web viewers, test on both desktop and mobile browsers because transparency and post-processing support can vary.
Create LODs even if the sphere is simple. The near version can retain the animated surface and layered effects, the middle version can remove fine variation, and the far version can use a single disk with a lightweight halo. The LOD system should switch the effect package as well as the mesh. Reducing triangles while leaving an expensive volumetric effect active solves very little.
Common Pitfalls and Performance Optimization Tips
The most common mistake is treating visual brightness as evidence of realism. A sun that fills the screen with bloom may look impressive in a screenshot but fail during gameplay, where it clips the sky, hides silhouettes, and makes exposure changes distracting. Keep the disk, halo, and scene light adjustable as separate controls.
Full volumetric rendering is another frequent trap. It can create beautiful depth around a close camera, but it also adds cost that may be difficult to justify for a distant object. Use it when the camera moves through the atmosphere, the volume intersects other effects, or the shot genuinely benefits from depth. Otherwise, layered shells, radial billboards, and bloom usually deliver a better quality-to-cost balance.
Diagnose the expensive layer
Profile the asset with each layer disabled. This reveals whether the problem comes from geometry, overdraw, particles, post-processing, or lighting. Transparent effects can become expensive because several large surfaces overlap, even when each surface has very few vertices.
Prioritize these checks:
- Overdraw: Reduce the screen area covered by additive halos and soften the texture edge.
- Particle count: Use fewer particles for distant views and avoid redundant layers.
- Material complexity: Replace repeated procedural nodes with a baked map when the pattern doesn't need to animate.
- Draw calls: Combine compatible meshes and materials where the engine allows it.
- Shadow cost: Don't make decorative halo geometry participate in shadows.
- Update frequency: Animate only the layers that the camera can resolve.
Procedural noise is useful, but it isn't automatically free. A complex graph evaluated across a large sphere can cost more than a compact texture, especially on mobile hardware. Bake the result when the surface only needs a fixed appearance. Keep the procedural version for hero shots or cases where time-based movement is important.
Build quality presets, not one compromise
A good asset ships with deliberate tiers:
- Low: Emissive disk, simple bloom, no particles, minimal animation.
- Medium: Disk, radial halo, directional light, and restrained surface motion.
- High: Multiple halo layers, animated noise, atmospheric particles, and stronger post-processing.
- Cinematic: Optional volume, high-quality scattering, and shot-specific exposure control.
Test each preset in motion and against bright and dark environments. A setting that looks excellent over black space may disappear against a pale sky. A halo that works at one camera distance may dominate the frame at another.
If you're processing large batches of supporting low-poly assets for a scene, a workflow such as how MerchLoom speeds up image batches can be useful for thinking about repeatable preparation and consistent output. The same principle applies here: standardize naming, material roles, texture sizes, and export checks instead of fixing every asset manually at the end.
Production rule: Optimize the effect people can see, not the geometry you can count. A simple sphere with disciplined emission and glow will often outperform a detailed mesh with uncontrolled transparency.
Sculpty helps you build and prepare the supporting 3D assets around a solar scene with text-to-3D and image-to-3D generation, PBR texturing, remeshing, retopology, rendering, and exports including GLB, FBX, OBJ, and USDZ. Use Sculpty to prototype game-ready scene elements, clean their topology, and review the results in a browser-based 3D workflow before bringing them into your engine.